With this project, I was interested in exploring friendlier alternatives to a common home decor piece: a moosehead. The purpose was to use a new program I discovered called Pepakura, which is a design program that allows users to make instructions for paper craft.


Detail 1
The First step was to find a model of a moose. I obtained this moose from thingiverse.com; I imported the model into a program called MeshMixer, where I was able to adjust the polygons and use the quadric edge collapse tool to create a simplified faceted version of the Moose.


Detail 2
I then imported the moose into Pepakura, which unfolds the mesh. I was then able to select the parts of the moose that I wanted to use for my moose head, and then laid out the pieces over 8.5"x11" paper. I had to work around the programs limitations, as I did not want to create the full moose, only the head.


Here I printed out the instructions on different sheets of cardstock to see which ones were easiest to bend, and which ones could structurally stand up to the folding and gluing.


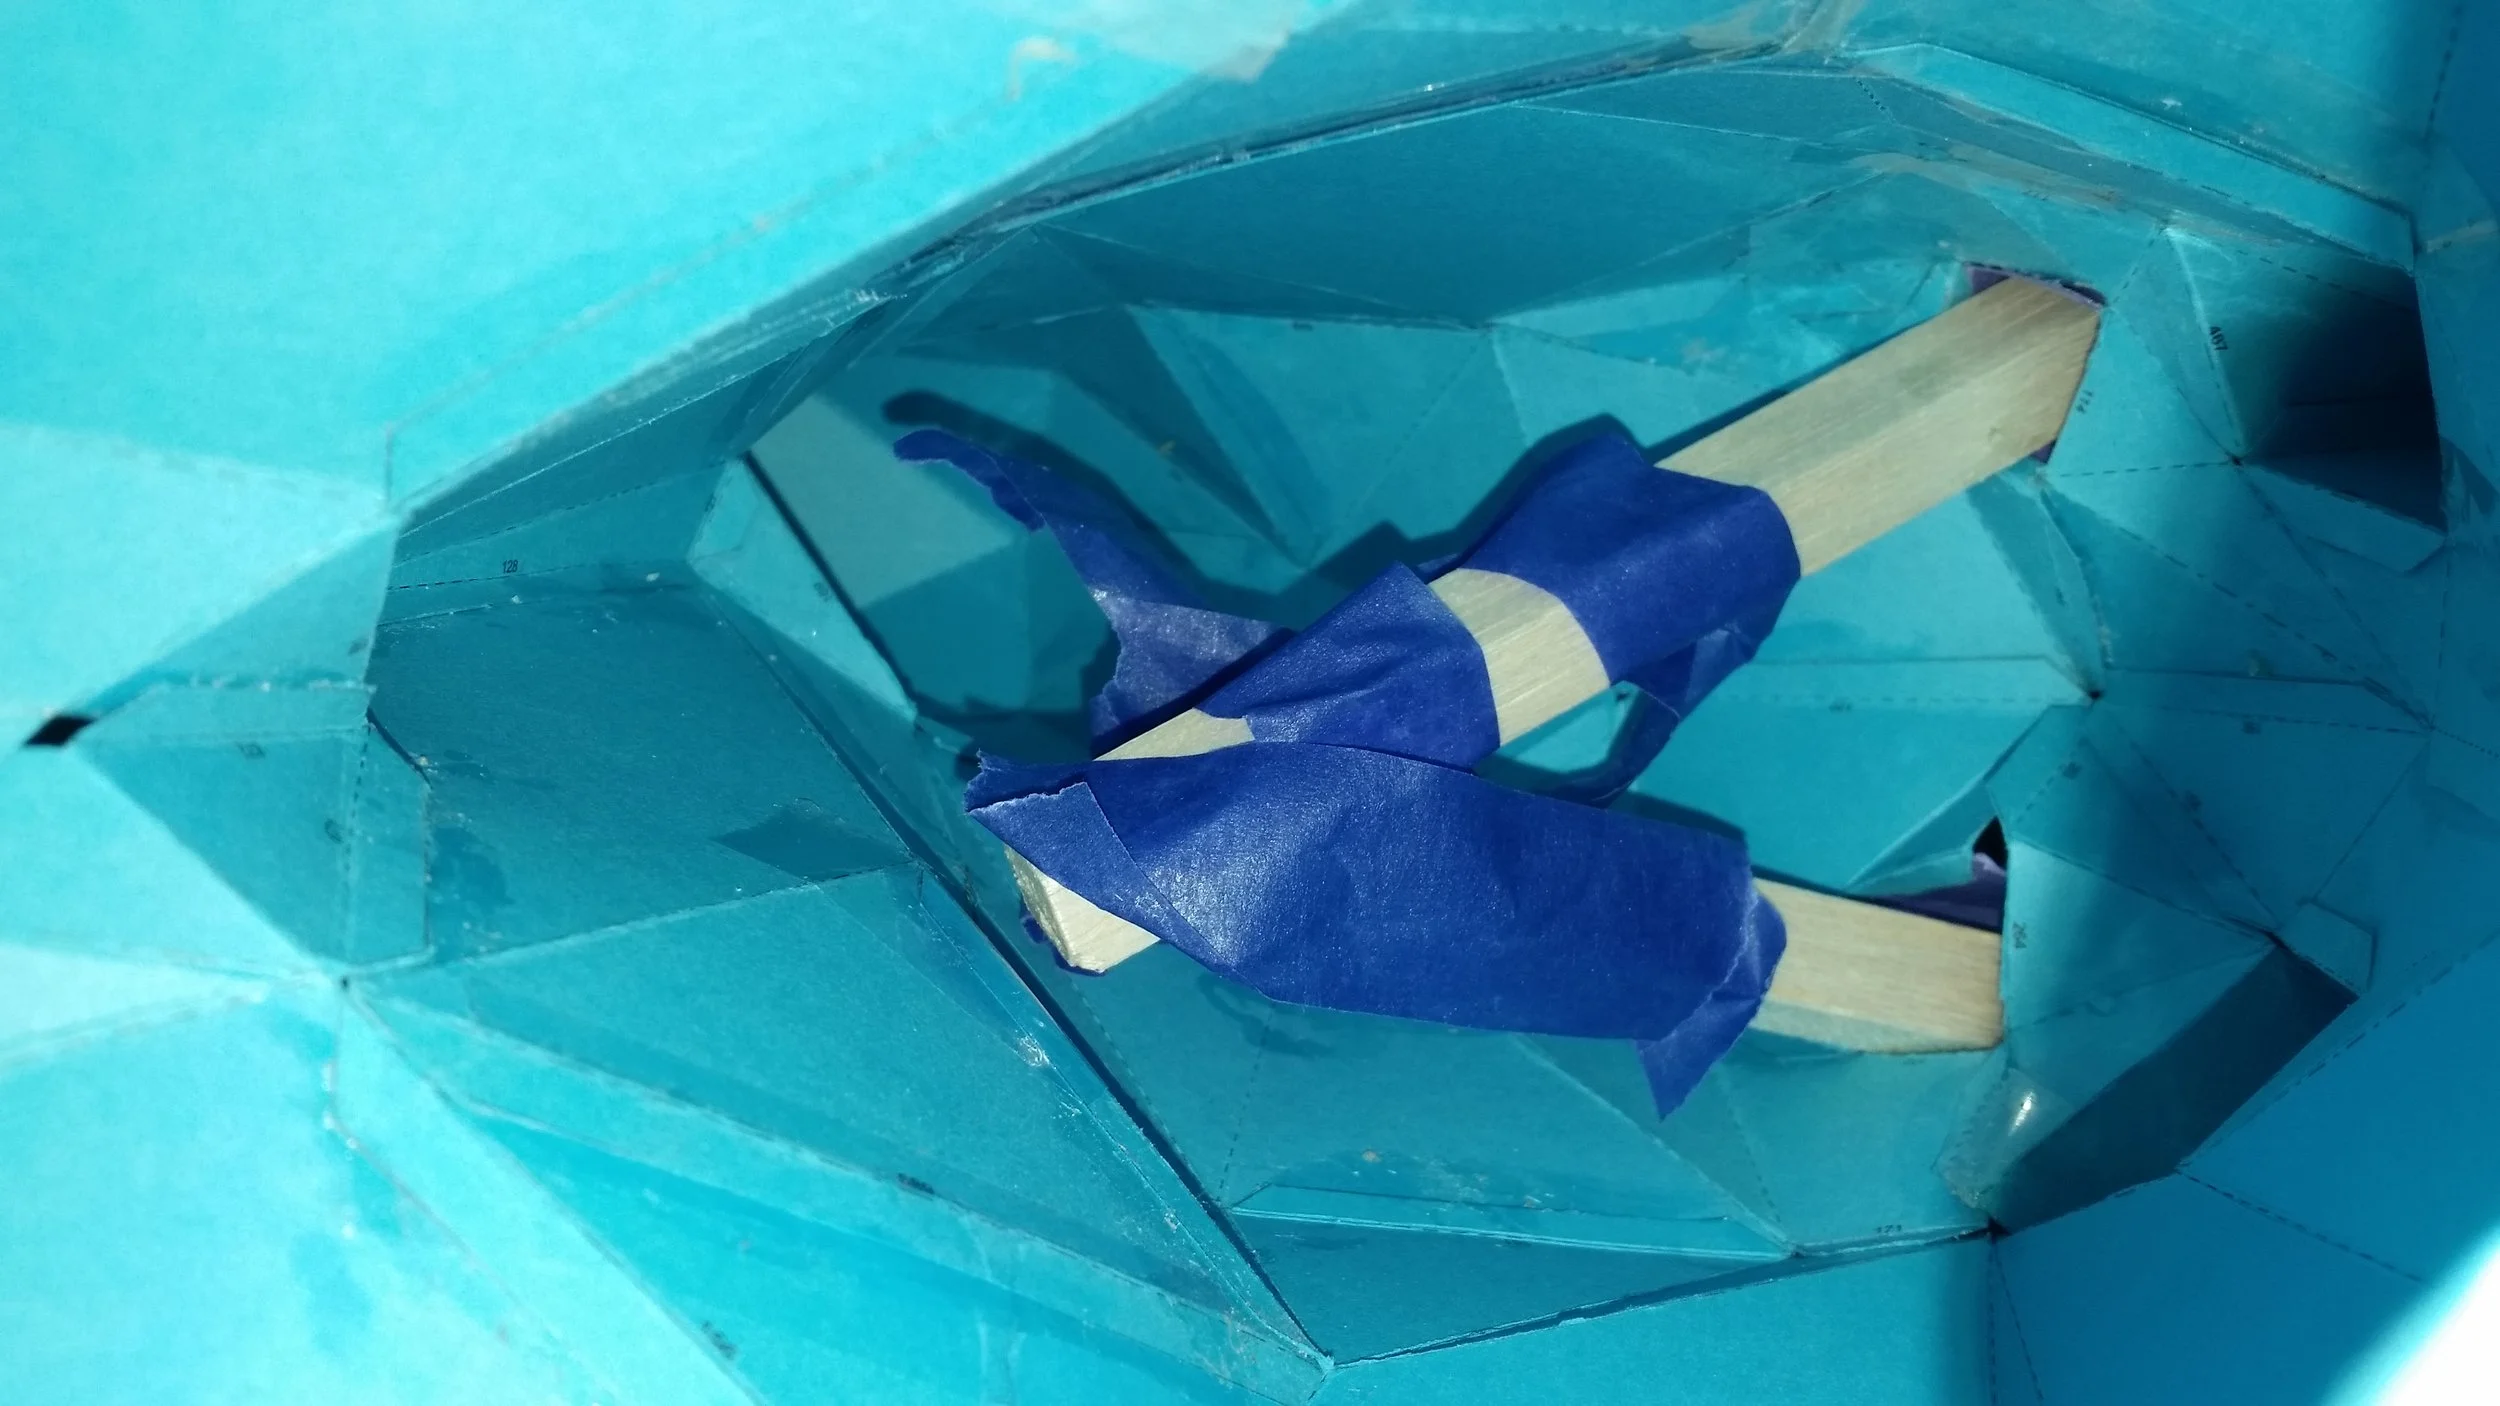
I used scissors to cut the shapes from the paper, and to score the fold lines. I then used paper cement and tape to connect the pieces together. For delicate parts like the antlers, I used light balsa wood dowels to create a skeleton support structure.

In the spirit of using paper materials, I was able to create a backbone to hang the sculpture using an old shoe box.


